When you have a young baby, they want to feed all the time. You don’t need us to tell you that! And if you’re bottle feeding (or combination feeding) your little one, unfortunately it isn’t as simple as just washing out a bottle and filling it with milk.
Before feeding, you need to make sure that all bottles and feeding equipment are adequately sterilised. You can do it the old school way or you can opt for handy products that will do the job for you, quickly and simply. Here we detail what you need to know in our helpful guide to bottle sterilising.
Why do you need to sterilise a baby’s bottles?
A baby’s immune system isn’t as well developed as an adult’s. This means they can easily become ill if they drink milk that’s contaminated with bacteria. Milk is also a breeding ground for bacteria that can cause food poisoning – we’re talking diarrhoea and vomiting.
If you sterilise your baby’s bottles and feeding equipment, this will kill the majority of bacteria and protect them from potential illnesses.
How to sterilise baby bottles?
You have a few different options when it comes to sterilising baby bottles, including:
– Steam sterilising
– Cold water sterilising
– Boiling
– UV sterilising
We’ll look at each in turn.
Steam sterilising
With steam sterilising, water is added to the sterilising unit which then boils to create steam that kills the bacteria. Some steam sterilisers are standalone and will plug into the wall, whilst others are super simple and can just be popped in the microwave.
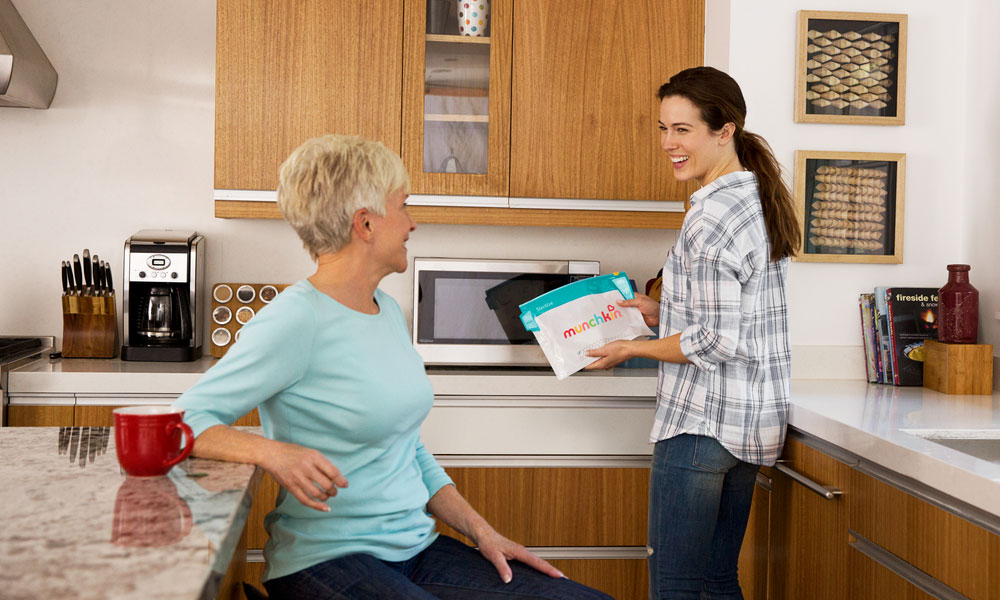
Munchkin’s cool touch microwave steriliser bags eliminate 99.9% of bacteria from baby bottles, teats, soothers, teethers, small toys and breast pump accessories. All you need to do is fill the bags with feeding items and water, pop them in the microwave and you’re good to go. A lifesaver on holidays or when you are out and about !
Cold water sterilising
For cold water sterilising, chemicals are mixed with cold water to sterilise any feeding equipment. You’ll likely buy these chemicals in tablet or concentrated liquid form. You can also buy a ready-made sterilising solution. To fully sterilise baby bottles, you should follow the manufacturer’s guidelines – in most cases you’ll need to do the following:
– Mix the solution according to the product guidelines.
– Make sure no air bubbles are trapped in the bottles or teats when you put them in the sterilising solution.
– Keep all equipment under the solution for at least 30 minutes.
– Change the sterilising solution every 24 hours.
Boiling
This is an old school way of sterilising your baby bottles. It works just as well as it always did, but does take a little graft on your behalf. To sterilise by boiling, you should:
– Ensure all items are able to be sterilised.
– Boil the feeding equipment in a large pan of water for at least 10 minutes, making sure everything stays under the surface. You can set a timer so you remember to turn the heat off.
It’s important to remember that feeding equipment can get damaged with this method. You should regularly check that any teats aren’t torn and that bottles aren’t damaged or cracked.
UV sterilising
This works by breaking down certain chemical bonds and scrambling the structure of DNA, RNA and proteins, which means that any microorganism is unable to multiply. UVA kills viruses and 99.9% of harmful bacteria, and it’s all done without any chemicals, heat or steam.
To perform UV sterilising at home, you’ll need a dedicated UV steriliser. Simply follow the manufacturer’s instructions and pop it in the microwave for quick and efficient sterilisation.
How to keep baby bottles sterile when out and about?
If you’re out and about and want to take some sterilised bottles with you, you can keep them in a sealed container. Once bottles are sterilised, put them in the container and place it in the fridge to help avoid germs or bacteria. When you need to go out, you can take the container with you. Just remember that the container must be sterilised too otherwise the bottles could easily be contaminated.
When you’re on holiday or staying with friends and family, portable sterilisers like our UV or microwave sterilisers are a practical solution.
When can you stop sterilising baby bottles?
Sterilising baby bottles can seem like a chore (especially when you need to do those night-time feeds), but it is essential for the health of your little one. But you can stop eventually. So, at what age can you stop sterilising baby bottles?
The NHS recommends that you sterilise all bottles and feeding equipment for the first 12 months of your baby’s life. After this, you’re ok with simply washing them, either by hand or in the dishwasher.
Do you need to wash baby bottles before sterilisation?
Yes, it’s important to wash your bottles before you sterilise them to ensure you remove any dried-on milk which could be harbouring bacteria. You can thoroughly wash them in warm soapy water or put them in your dishwasher. Make sure you place your bottles and teats face down in the dishwasher so they don’t fill with dirty water. If you’re washing them by hand, use bottle and teat brushes to ensure you clean every part of the bottle.
Is it OK to just wash baby bottles in a dishwasher?
Unfortunately, a dishwasher alone isn’t enough to effectively sterilise your baby’s bottles. You will need to adequately sterilise all bottles and feeding equipment using one of the above methods until your baby is at least 12 months old.
Sterilising bottles and feeding equipment is so important to keep your little one healthy. The technique you choose is up to you, as long as those bottles are safe to use!
Looking for more baby advice? Head to our blog or listen to our StrollerCoaster podcast.

Leave a Reply