As parents to a baby under 12 months, you’ve certainly got your hands full, especially with the cycle of routine chores. When it comes to cleaning baby bottles though, it needn’t be a bore chore. In fact, with the right products and the right know-how, it can be easy peasy bottle-teat squeezy.
Why Do You Need To Clean Baby Bottles?
You work so hard to give your little munchkin the best, and feeding them in a safe and hygienic environment is one of the ways you can do that. Dirty bottles can be a breeding ground for nasty bacteria, which isn’t nice for teeny tiny tummies. Yuk. By cleaning baby bottles properly, you can ensure that every feeding is a healthy and happy experience for your little one (and you!)
Choosing The Right Cleaning Products:
You might feel overwhelmed with choice when it comes to cleaning products, however here’s a simplified overview of the most trusted products the Munchkin team recommend:
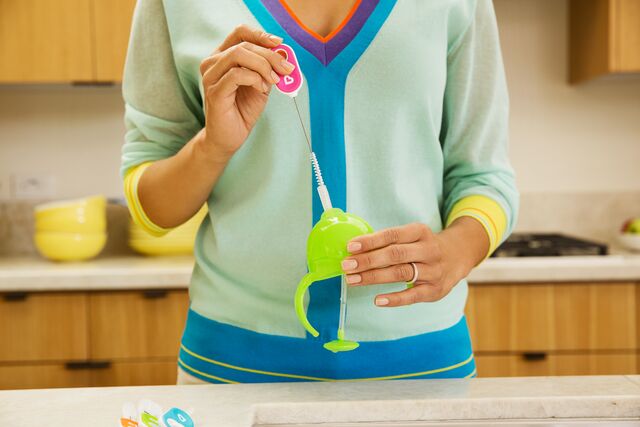
This 2-in-1 brush is a bottle brush and bottle teat brush in one, so you can clean every inch of your baby;s bottles with just one handy tool. The sponge tip helps you reach all areas with a sudsy swipe, and it stands upright once done!
If you’d like more information on how to use brushes for cleaning baby bottles, check out our handy picture demo here!
Who has time for complicated sterilisation processes? Not you, we imagine. That’s why these steriliser bags might just be your new best friend. Pop your bottles and accessories in, add water, and zap them in the microwave. In just a few minutes, you’ll have squeaky-clean bottles ready for action. #winning.
Let’s face it: nothing works as well as air drying those freshly washed baby bottles and cups, especially when cloths and towels can harbour naughty germs. Our fold drying rack helps keep your kitchen counters clutter-free and your feeding accessories dry. Ideal for use with bottles, teats, cups, straws, valves and pump parts, it’s a handy accessory that just makes things easier…thank goodness.
How To Clean Baby Bottles
Now you’ve got your products, here’s a run-down on how to put them to good use. Of course, you might have your own way of doing this bit, but just in case you need some inspo, here’s what the Munchkin mums and dads recommend:
- Disassemble the bottle: Take apart all the bits and bobs – bottle, nipple, collar, the works.
- Rinse with warm water: Give everything a good rinse under warm running water to get rid of any leftover milk or formula.
- Wash with soapy water: Grab your mild dish soap and get scrubbing with your trusty 2-in-1 bottle brush.
- Sterilise: Whether that’s with the cool touch steriliser bags, or a steriliser device, just follow the instructions for a germ-free finish. If you’d like more information on how to thoroughly sterilise your baby bottles, you can find out everything you need to know in our other blog, here!
- Air dry: Let your bottles air dry on a clean dish rack or towel. No towels or cloths, though – we want to keep things lint-free! (The bottle drying rack might really help with this bit!)
- Reassemble and store: Once everything’s dry and sparkling, put your bottles back together and store them in a clean, dry spot until the next feeding frenzy.
How to Clean Cloudy Baby Bottles
Ah, cloudy bottles – you know the ones – that look like they’ve been sat in milk water all day. How annoying, especially when you’ve worked so hard to keep them sparkling clean. Not to worry though, we’ve got a trick up our sleeves to banish those clouds for good. Simply soak your bottles in a solution of equal parts white vinegar and water for a few hours or overnight. The vinegar works its magic, dissolving mineral deposits and stubborn residue to leave your bottles crystal clear once again. Rinse, clean, sterilise, and ta-da– problem solved!
Looking for more baby advice? Head to our blog, or listen to our StrollerCoaster podcast.
Leave a Reply